Guides/Captions and voices
Clean up a voice
Three switches in the Audio tab take the room out of a recording and bring it to a broadcast level. Plus the fun ones: chipmunk, robot, telephone.
Select a clip with sound on the timeline and open the Inspector’s Audio tab. Its Sound section runs top to bottom: Volume, Fades, Pitch, Speed, then Treatments and the audio effect chain.
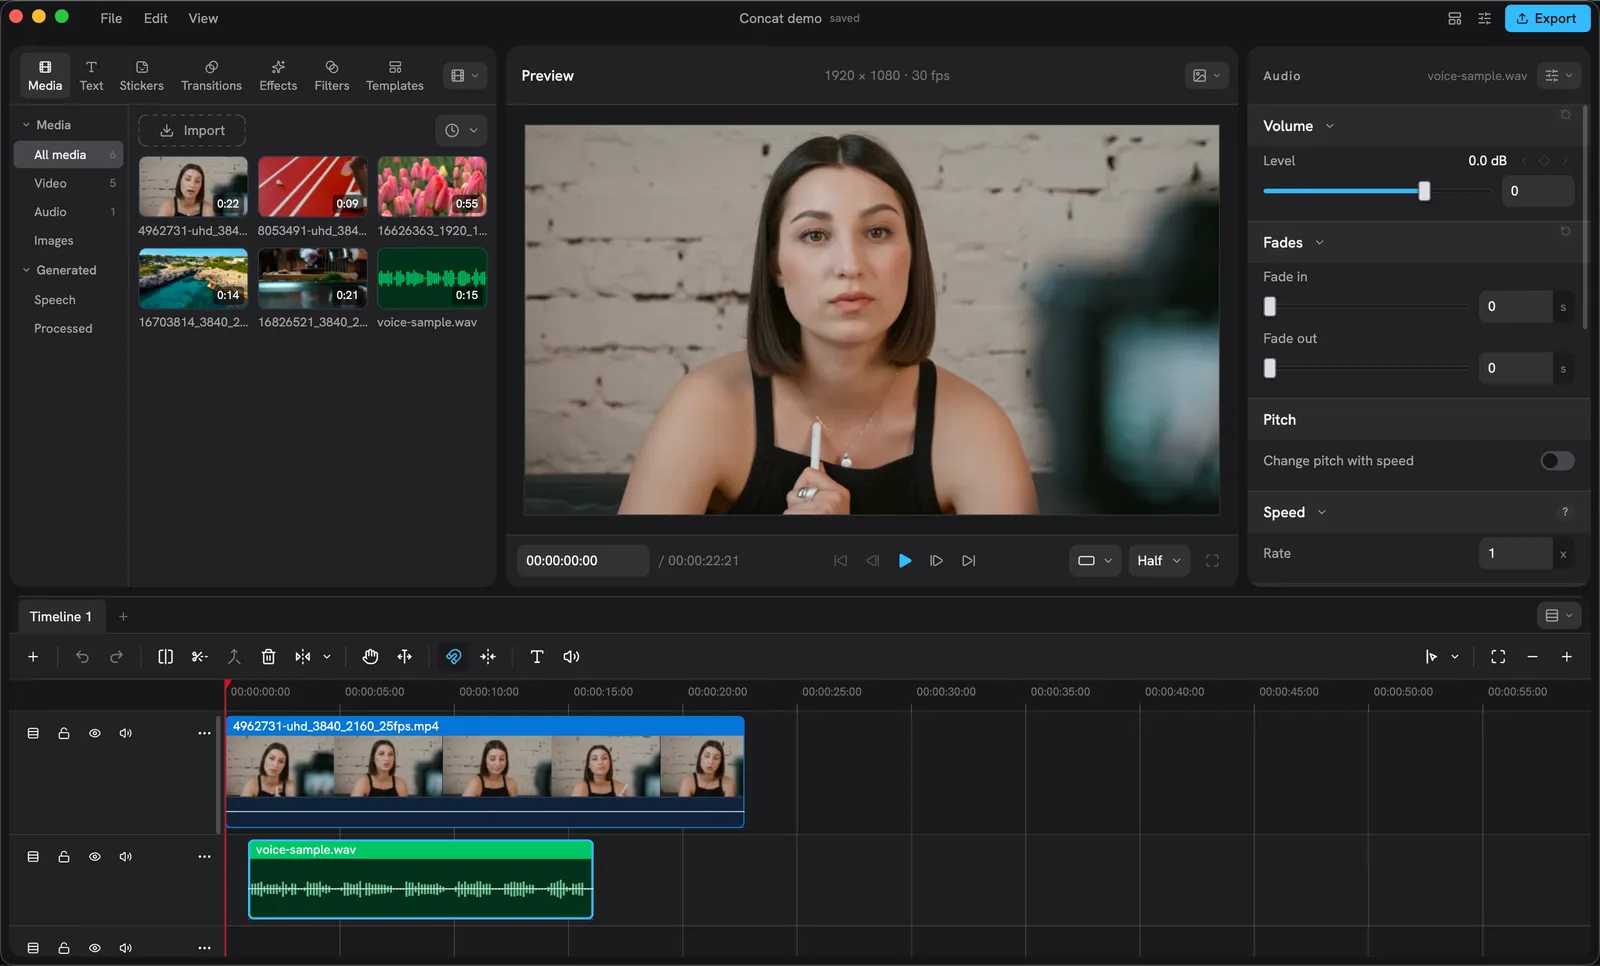
The Audio tab. Treatments and the effect chain are further down.
The three treatments
Each is a switch with a line explaining what it does:
- Normalize loudness: brings the clip to a broadcast level without riding the fader. Turn this on for every voice track and stop worrying about levels.
- Reduce noise: takes the room’s hiss and hum out from under the voice.
- Enhance voice: lifts speech out of the mix, a little presence, a little control.
They need no model download and apply as the clip plays. All three on is the one-switch cleanup the README promises.
Volume without the inspector
Every clip with sound wears a thin horizontal line at its level on the timeline. Drag it to set the volume; it snaps at 100 percent and the drag is one undo step.
The effect chain
Under the treatments is the clip’s audio effect chain and a library to pick from. The Library pane’s Effects page lists the same ones under Audio Effects, grouped by category:
- Voice: Chipmunk, Deep, Robot, Telephone, Megaphone, Whisper, Sweet, Radio, Lo-fi, Vinyl, Underwater, Pitch.
- Space: Room, Hall, Plate, Cathedral, Stadium, Echo.
- Tone: Bass, Treble, Bright, Distorted.
Click one to add it to the selected clip. The chain runs top to bottom; reorder with the chevrons, bypass one with its eye, and dial its knobs underneath. A knob with a diamond can be keyframed.
Pitch and speed
Rate re-times the clip in place, so the timeline length changes with it; trim afterwards. Change pitch with speed is off by default, so a sped-up voice stays at its pitch; turn it on for the chipmunk-by-speed effect.