Guides/Start
Where everything is
A map of the window: the four panes, the title strip, the menus, the tray and what each button on it does.
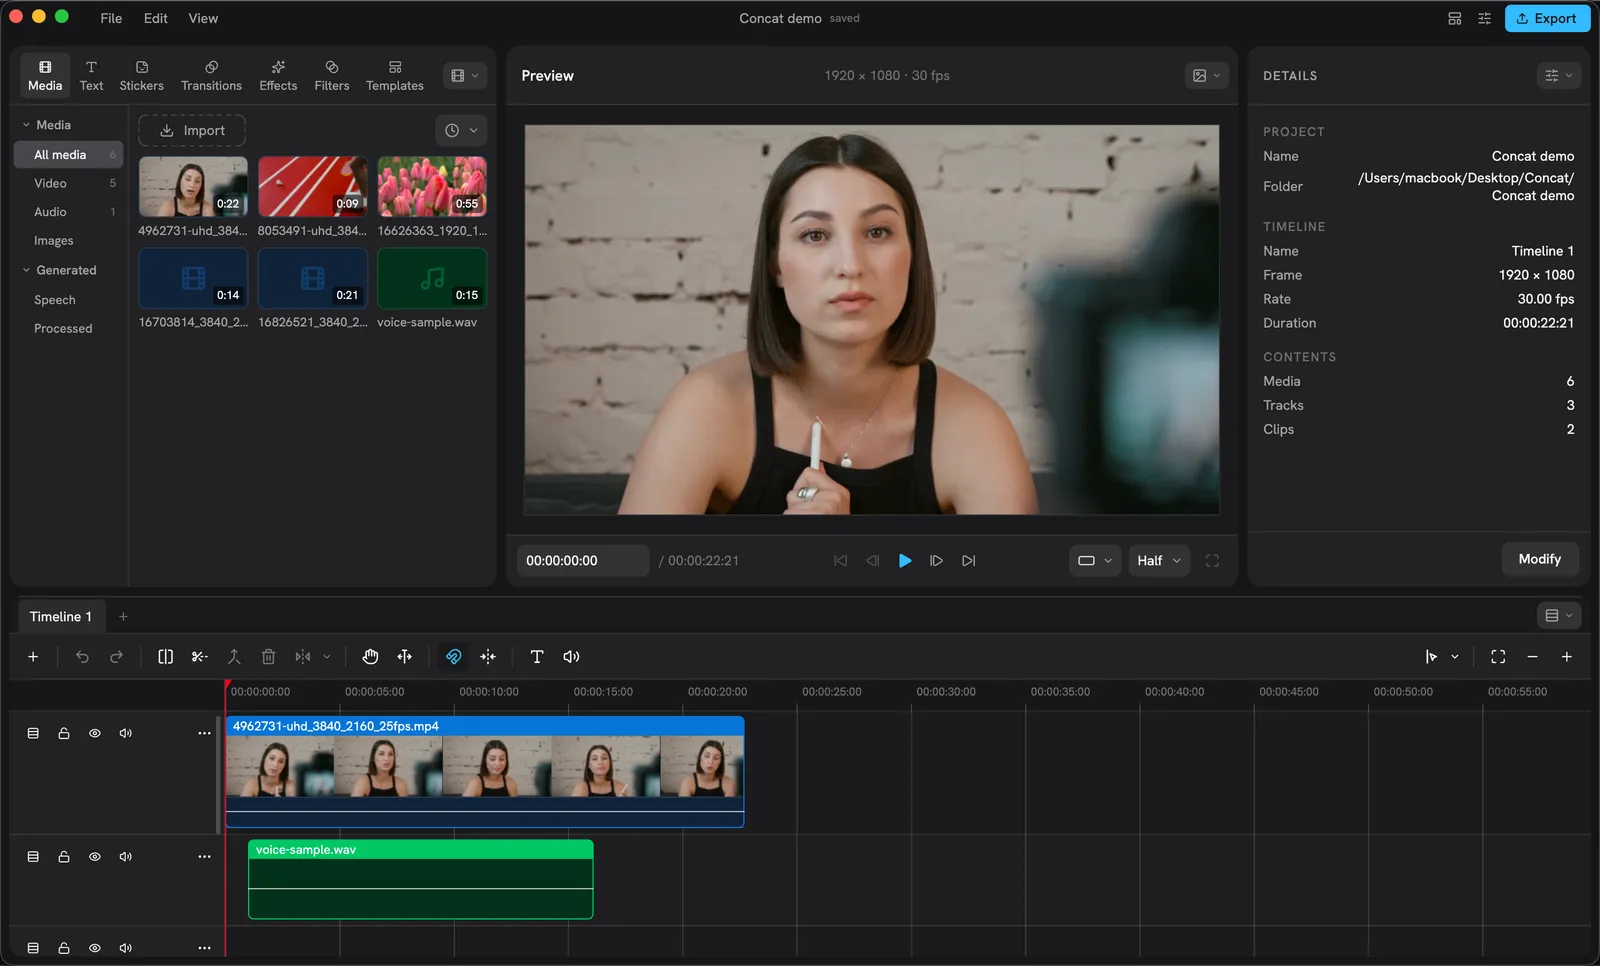
Library, Preview, Inspector, Timeline. Every pane can be swapped for another, split, or dragged onto a different spot.
The title strip

At the right end of the strip: Add a panel, the Settings gear, and Export.
The strip at the very top carries the File, Edit and View menus on the left, the project’s name and its save state in the middle (“saved” almost all the time: the edit autosaves a second and a half after every change), and three controls on the right:
- Add a panel (the plus with a chevron) opens a list of the six pane kinds and adds one.
- The gear opens Settings. It is the only door to Settings besides ⌘, and File › Settings.
- Export opens the export sheet.
On Windows and Linux the strip also draws the window buttons, and
F10, Alt+F, Alt+E and Alt+V open the menus from the keyboard.
The menus
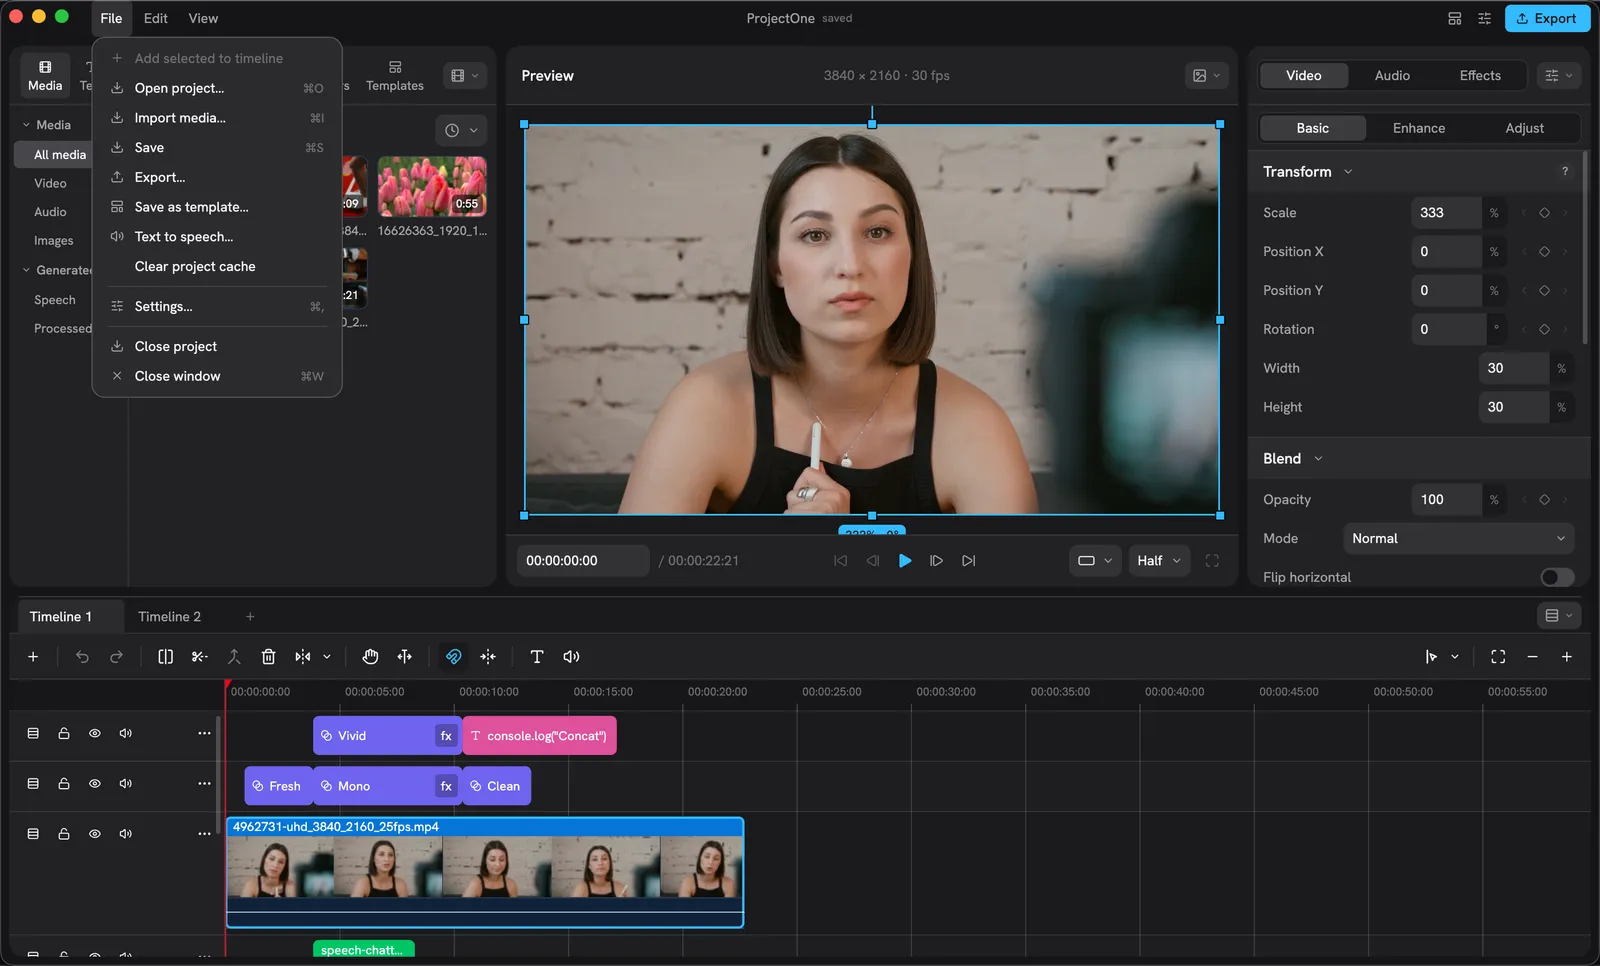
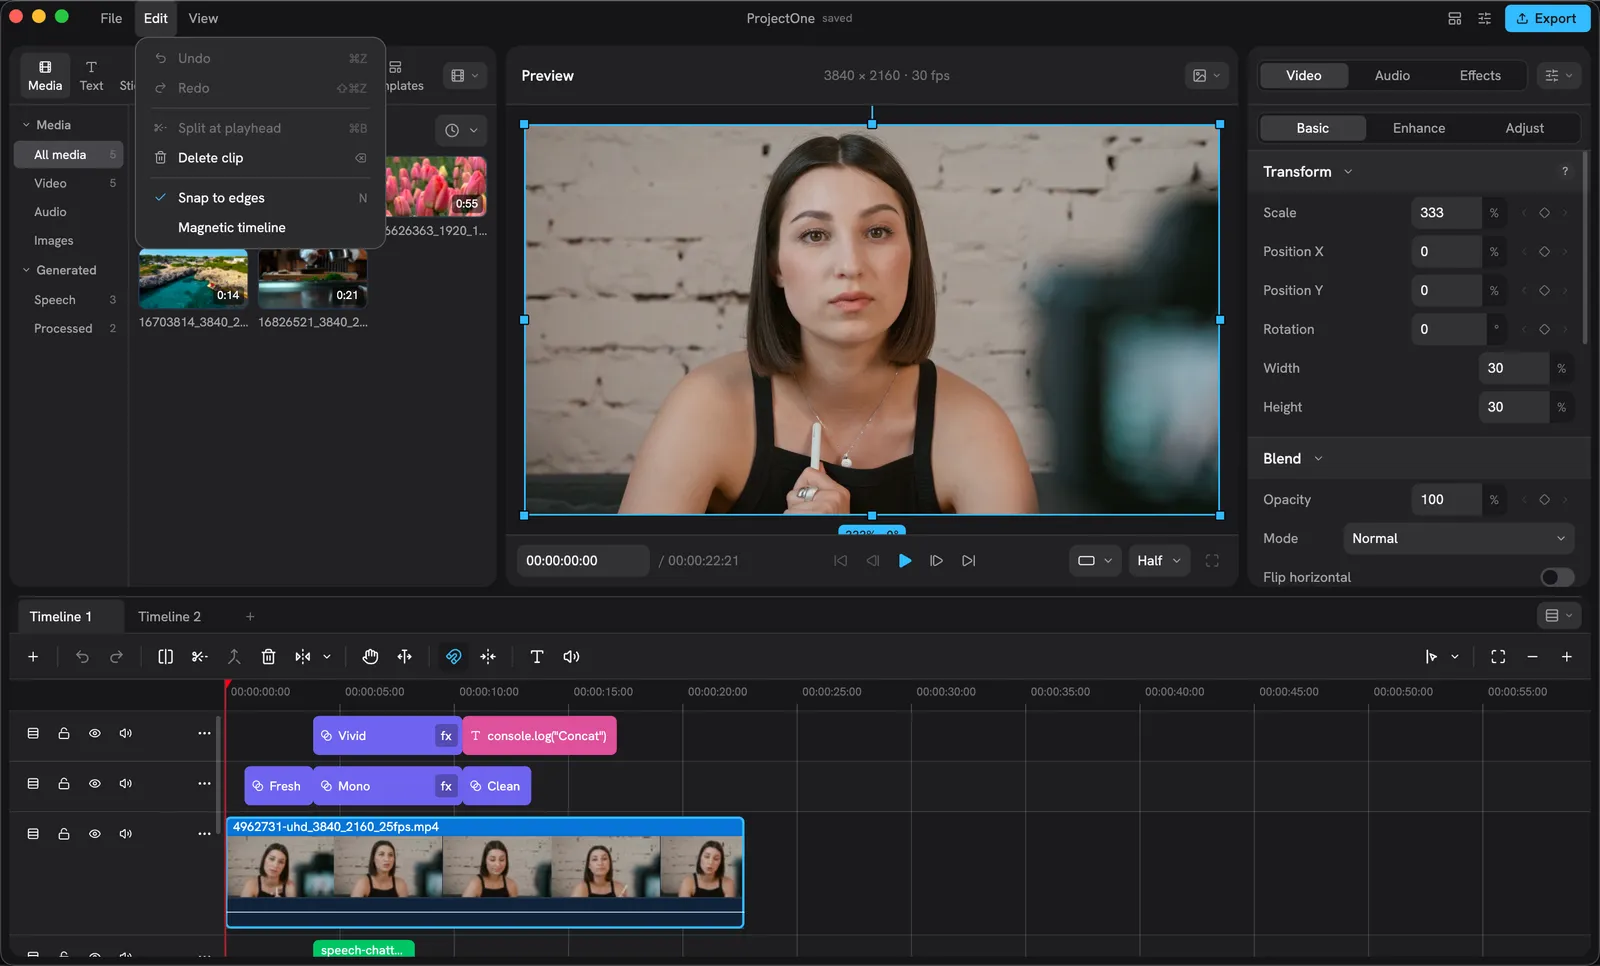
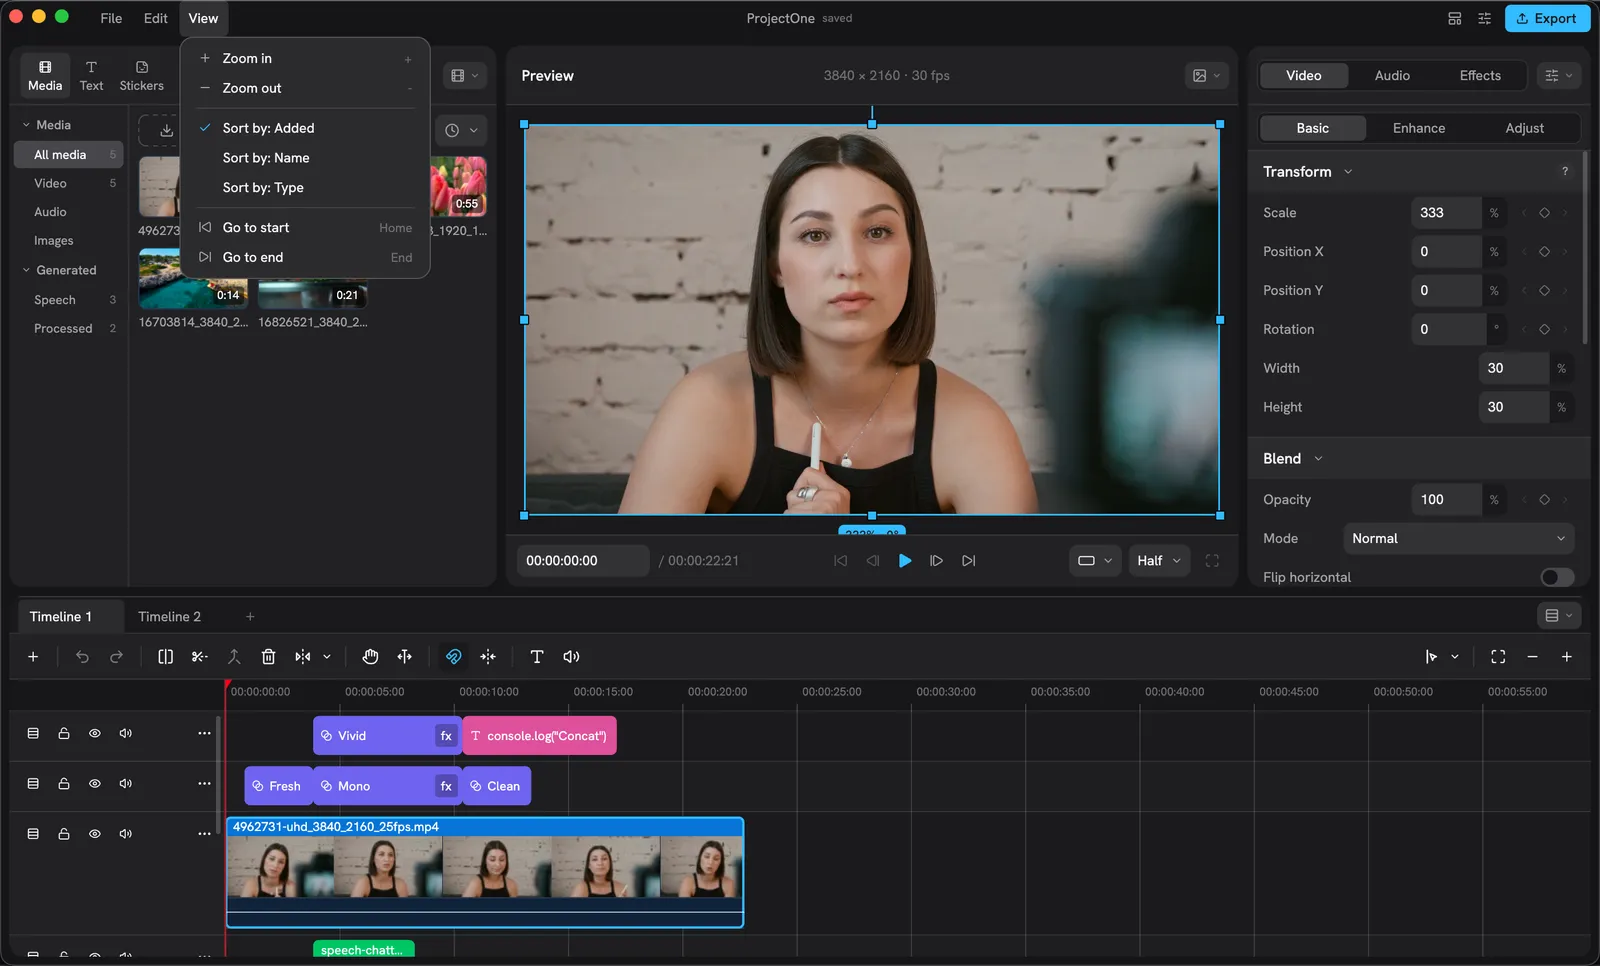
File has Open project, Import media, Save, Export, Save as template, Text to speech, Clear project cache, Settings, Close project and Close window. Edit has Undo, Redo, Split at playhead, Delete clip, and the two timeline switches, Snap to edges and Magnetic timeline. View has Zoom in and out, the three sort orders for the bin, and Go to start and end.
The Library

The Library’s pages.
The Library has seven pages across its top: Media (your files, filtered by All media, Video, Audio, Images, and the Generated shelves Speech and Processed), Text (titles and the Styles and Languages looks), Stickers (shapes), Transitions, Effects (video and audio), Filters (colour looks, with Import a LUT) and Templates. Each page has a column of categories on its left and cards on the right. The library guide explains what a click, a double-click and a drag do on each page, because they differ.
The Preview

Under the picture: the timecode and duration, transport buttons, then the frame-shape picker, the quality picker (Full, Half, Quarter) and Fit.
The monitor shows the frame at the playhead. Click a clip’s picture to select it; drag the box to move it, drag a grip to scale it, drag the stem above the box to rotate it.
Shift while dragging snaps to the guides. Right-click the picture for Save Video Frame As, which writes the frame as a PNG and drops it in the bin.
Half quality is the default: it plays proxies, which keep 4K smooth. Full plays the original files. A single click on a file in the Library shows that file here instead of the timeline, with a “Source” chip; click the timeline to come back.
The Inspector
With nothing selected the Inspector shows the project’s Details and a Modify button for the timeline’s frame, rate and colour. With a clip selected it shows tabs for that kind of clip:
| Clip | Tabs |
|---|---|
| Video | Video (Basic, Enhance, Adjust), Audio (Sound), Effects |
| Image | Video (Basic, Enhance, Adjust), Effects |
| Audio | Audio (Sound) |
| Title | Text |
| Filter | Filter (the layer’s strength and ramps) |
| Shape | Vector Image |
Every knob with a small diamond next to it can be keyframed at the playhead. Double-click a label to put a knob back to its default.
The Timeline

The tray.
From left to right on the tray:
| Button | What it does | Key |
|---|---|---|
| Add track | A menu: Add to top, Add to bottom | |
| Undo, Redo | ⌘Z, ⇧⌘Z | |
| Split at playhead | Splits every clip under the playhead | ⌘B |
| Split tool | The razor: click a clip to cut it under the pointer | B |
| Merge selected | Joins two selected pieces of the same file back into one | |
| Delete selected | Delete | |
| Freeze, Reverse, Mirror, Rotate | A menu for the selected clip | |
| Pan tool | The hand: drag to scroll the lanes | H |
| Trim follow | The playhead rides the edge you trim | |
| Snap to edges | N | |
| Magnetic timeline | Deleting and trimming close the gap | |
| Generate Captions | Opens the Captions sheet | |
| Text to Speech | Opens the Text to speech sheet | |
| Record Voiceover | Records from the microphone onto the timeline. Next release; not in 0.2.6 | |
| Preview axis | The monitor follows the pointer across the lanes | S |
| Zoom to fit, out, in | ⌘-, ⌘= |
On Windows and Linux read Ctrl for ⌘.
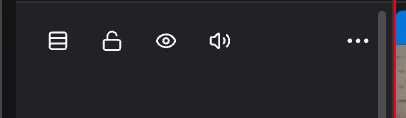
Each lane’s header: row height, lock, hide, mute, and More, which holds Delete.
Above the tray sit the timeline tabs. A project can hold several timelines, each with its own frame and rate; the plus adds one, a double-click renames one. Right-click a clip for its menu: Copy, Duplicate, Paste, Split at playhead, Freeze frame, Enhance, Detach audio, Save Audio As, Mute, Lock track and Delete.
Moving panes around
Every pane’s header ends with a small chip. Click it to change what that pane shows, or to remove the pane. Drag the chip onto another pane: drop near an edge to split that pane, drop in the middle to swap the two. The sixth kind, Keyframes, is how you get the dopesheet and curve editor on screen; see keyframes.